Partner Portal
To start the Hosted-CentreStack version, the first thing to do is to acquire a CentreStack partner account and login to the web portal.
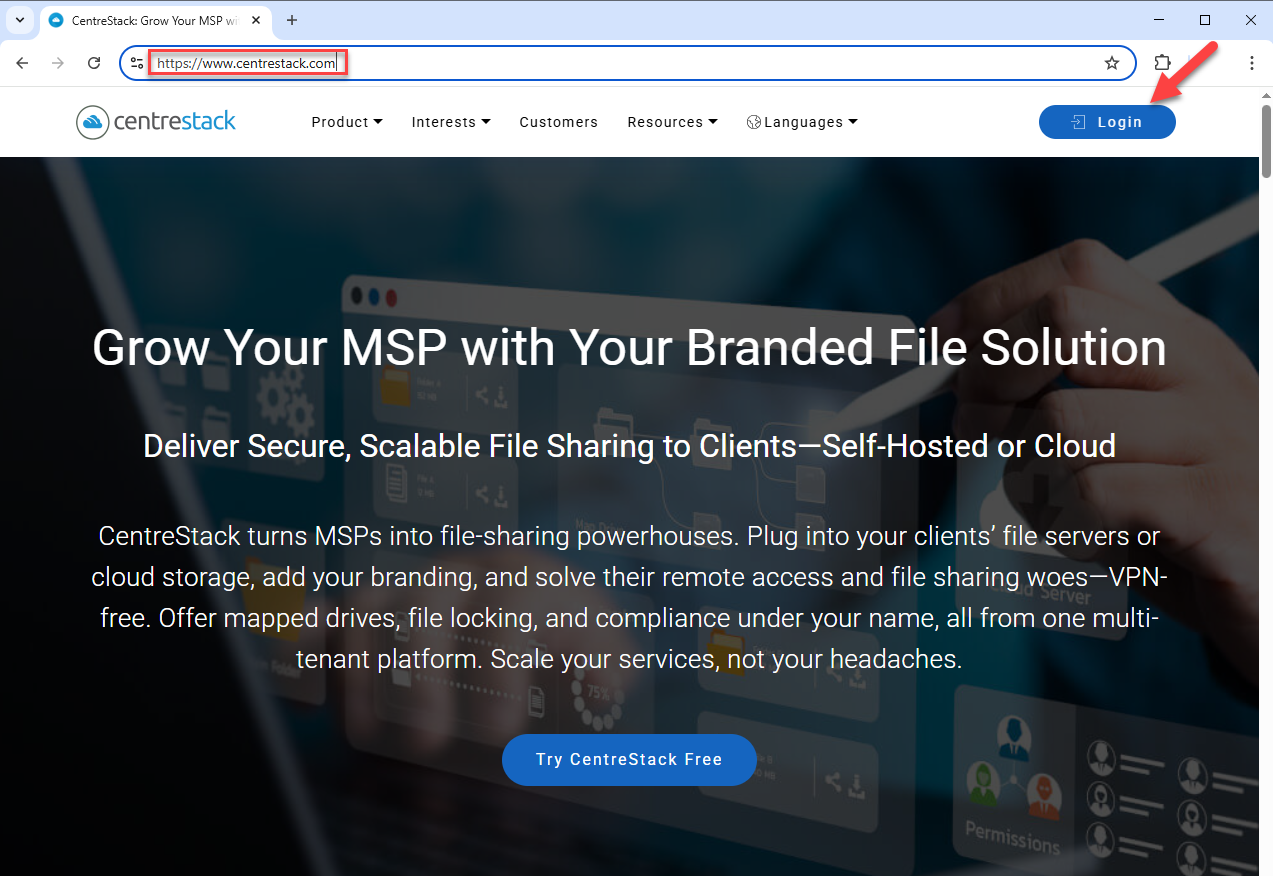
CentreStack WEBSITE
The Partner Portal is the centralized place to manage the managed service provider’s (MSP’s) clients. The activities on the partner portal include creating Tenants and managing Tenants.
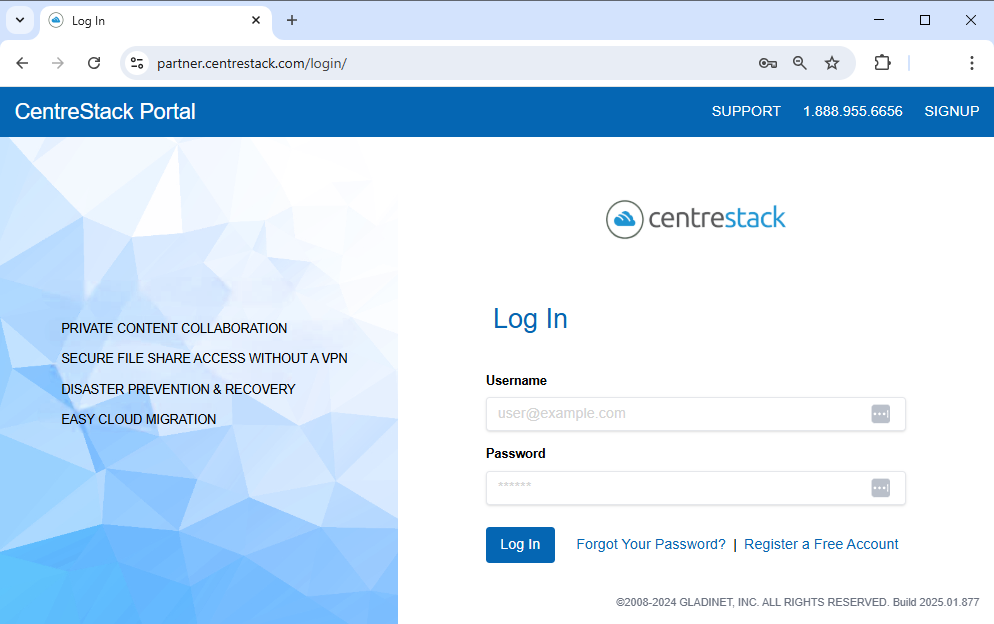
PARTNER LOGIN
After logging into the Partner Portal, you can see most options by expanding the left-side menu. (1) From the collapsable menu, choose one of the two hosting options: “Self-Hosted CentreStack” (2), which is for the self-hosted CentreStack, or “Hosted CentreStack” (3). In the image below you can see that we have already “Branded” this account with “ACME Cloud Services” (4) (see “Branding” section (5) below for more information). You can also access useful information here, such as “Compare CentreStack Editions” (6) and “Training Videos” (7) to help you get started.
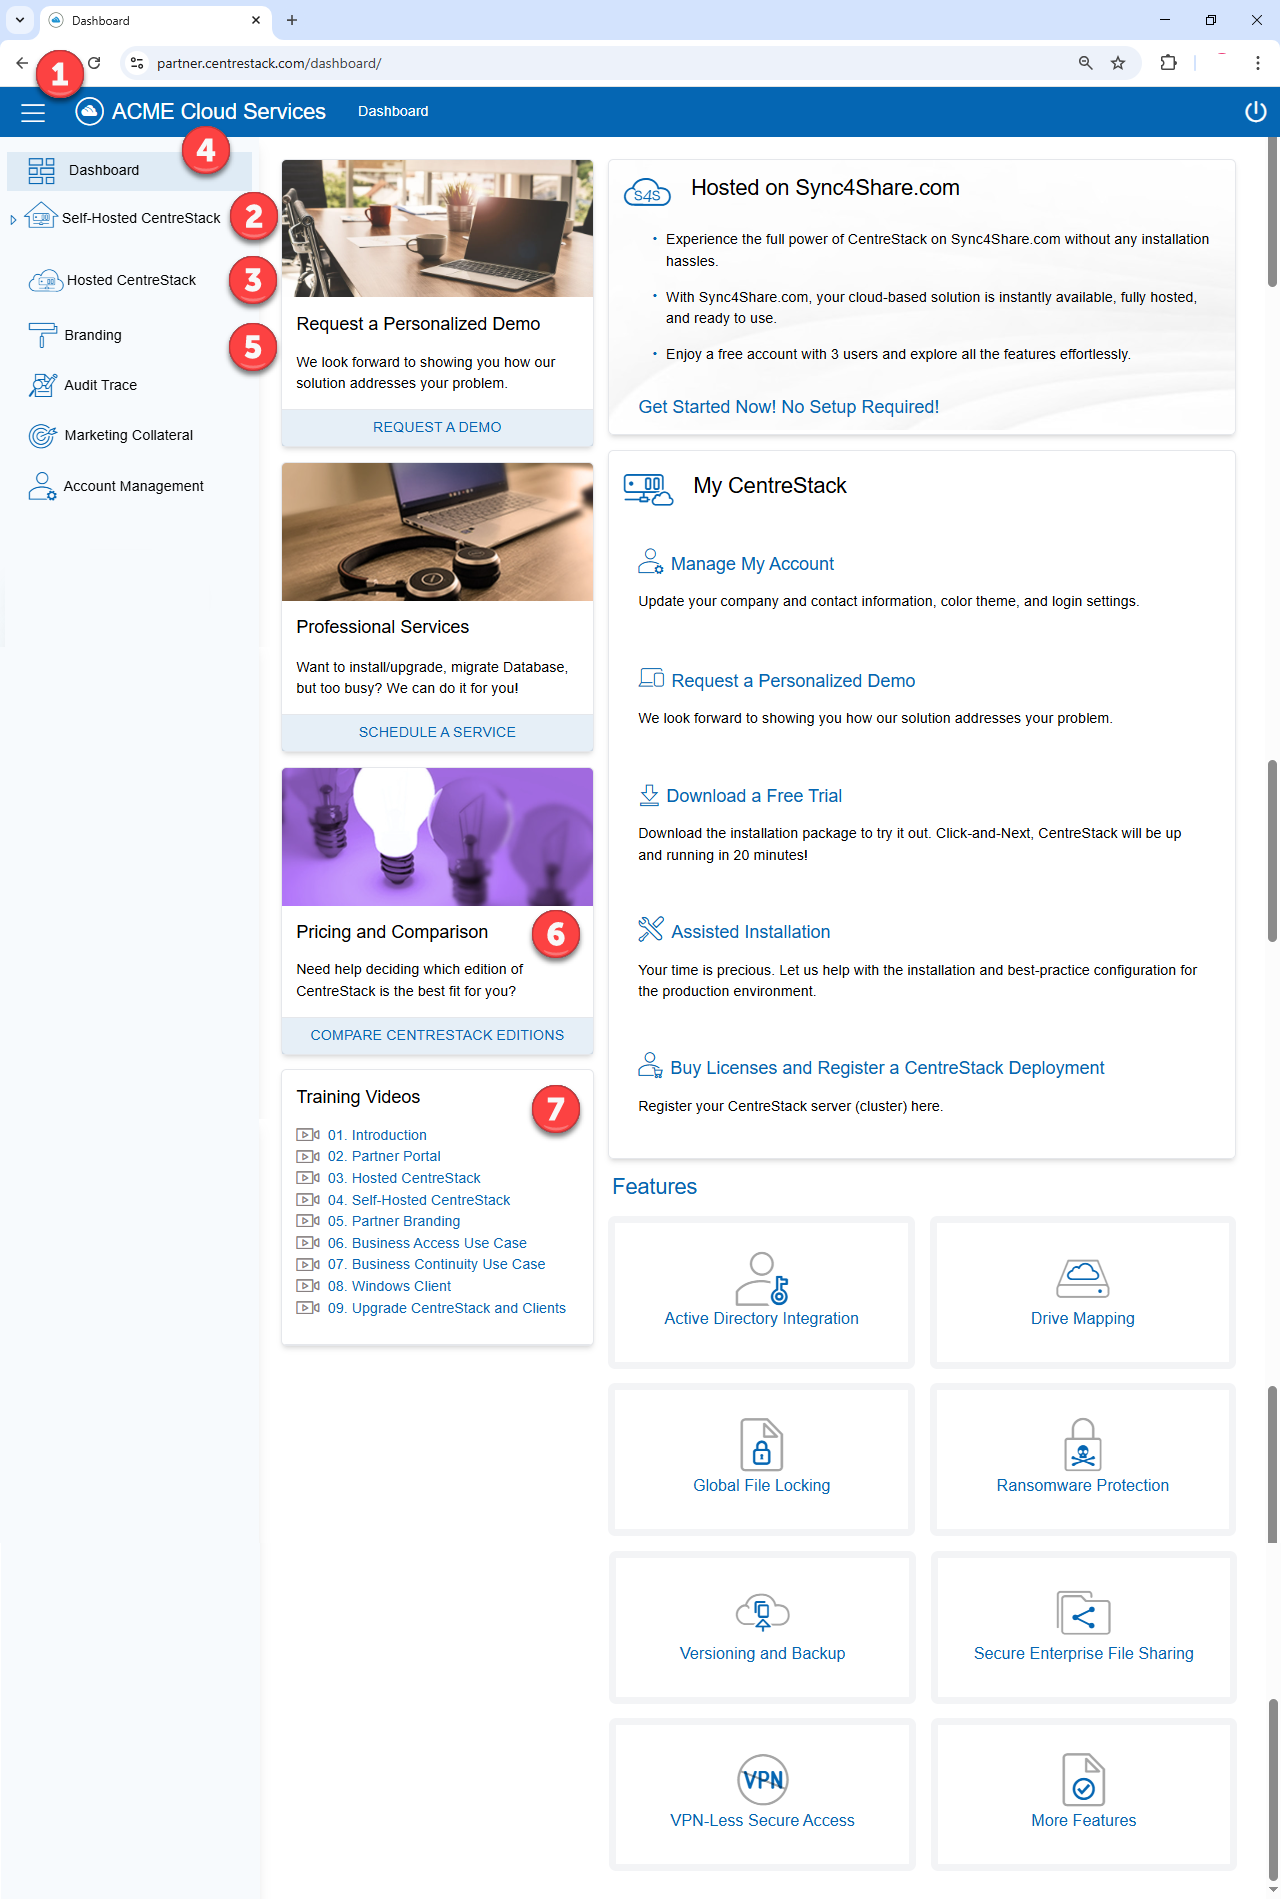
PARTNER DASHBOARD
Because this guide is focused on our “Hosted” solution, choose the “Hosted CentreStack” option from the left panel.
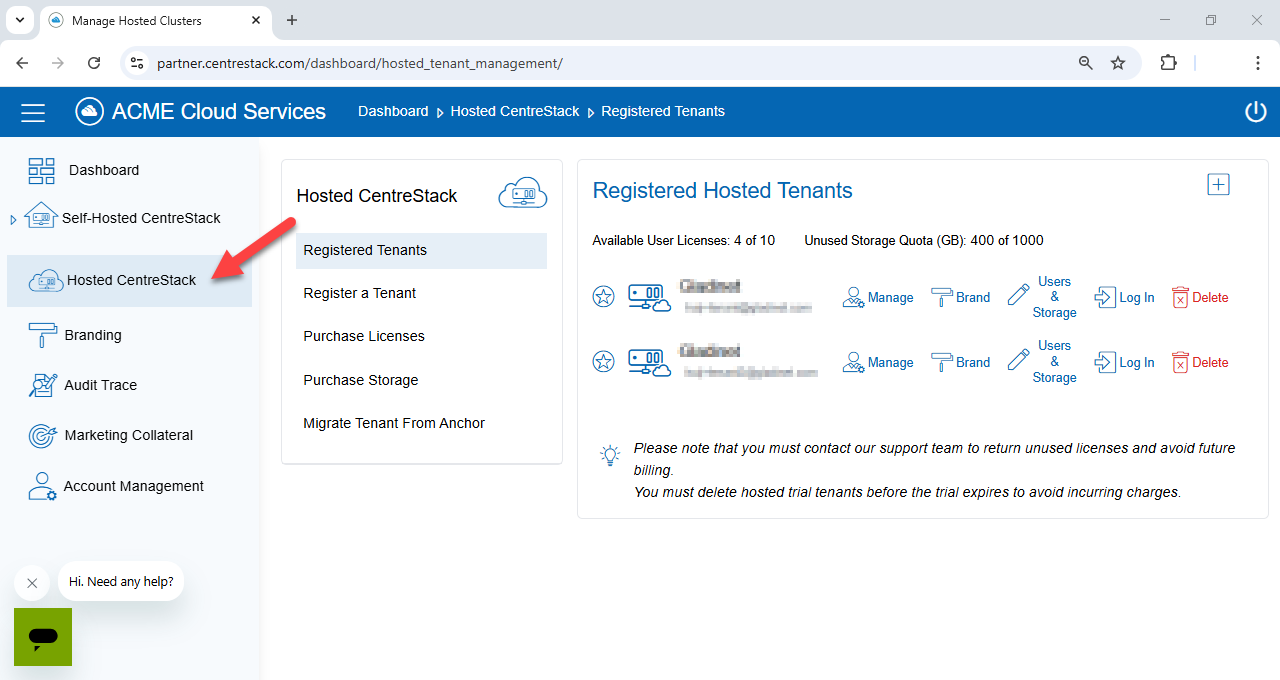
HOSTED CentreStack TENANT MANAGEMENT
Tenant Management
After you are in the Hosted CentreStack section, you can view the Tenant manager.
Note
A Tenant is usually mapped to a client of yours.
New Tenant
To start creating the first Tenant, you can use the “Register a Tenant” link.
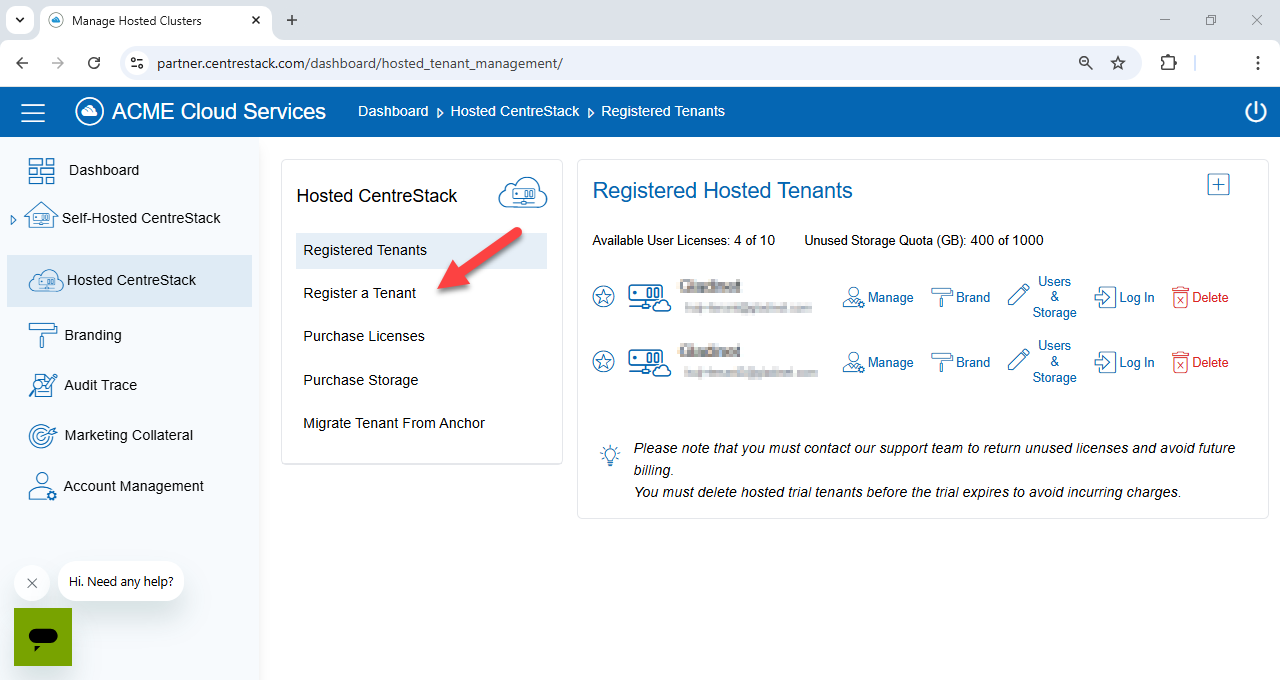
CREATE A NEW TENANT
During the creation of a Tenant, it asks for basic Tenant-related information such as company name, contact name, email and other information.
If you need to get to the advanced section to further customize the creation of the Tenant, you can click on the “Advanced Settings” link.
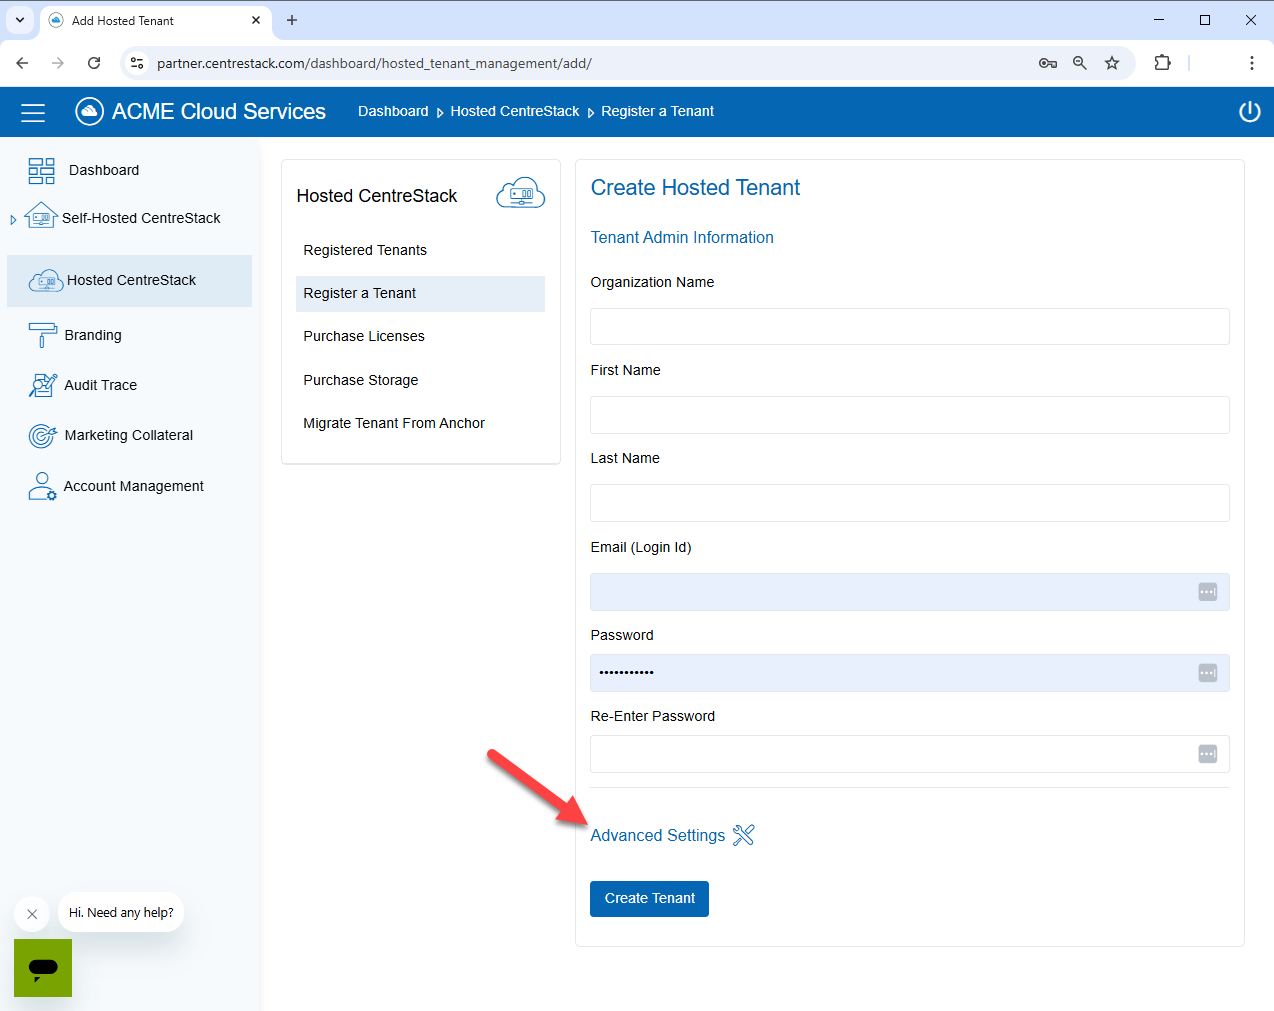
NEW TENANT SETTINGS
Advanced Settings

ADVANCED SETTINGS
For MSPs and the Tenant internal IT staff, there is a division of work and responsibility. Sometimes managed service providers do more work and have more responsibility, but other times the Tenant IT staff has more. The Advanced Settings defines how the work is divided between these two entities.
View and edit group policy
Whether the Tenant itself (Tenant Administrator) can manage group policy.
Allow Tenant to edit branding setting
Normally the Tenant will pick up the service provider’s default branding setting. If this setting is allowed the Tenant can define their own branding.
Edit Tenant Administrator info
Tenant admin can change the email and the name of the Tenant administrator.
Allow creation of guest users
The Guest user is related to files and folder sharing. This setting allows Tenant users to create guest users.
Show Data-At-Rest Encryption configuration page (Requires empty storage container)
This option allows Tenant to set encryption upon the first use. The Tenant will enable the encryption with a pass phrase.
User License Count
By default, the Tenant user count can be anything above 3 users.
Hosting Data Center
If a managed service provider has both self-hosted CentreStack environment and Hosted CentreStack, the managed service provider can leverage self-hosted CentreStack to create Tenants.
After a Tenant is created, you can manage the Tenants in “Registered Tenants” section.
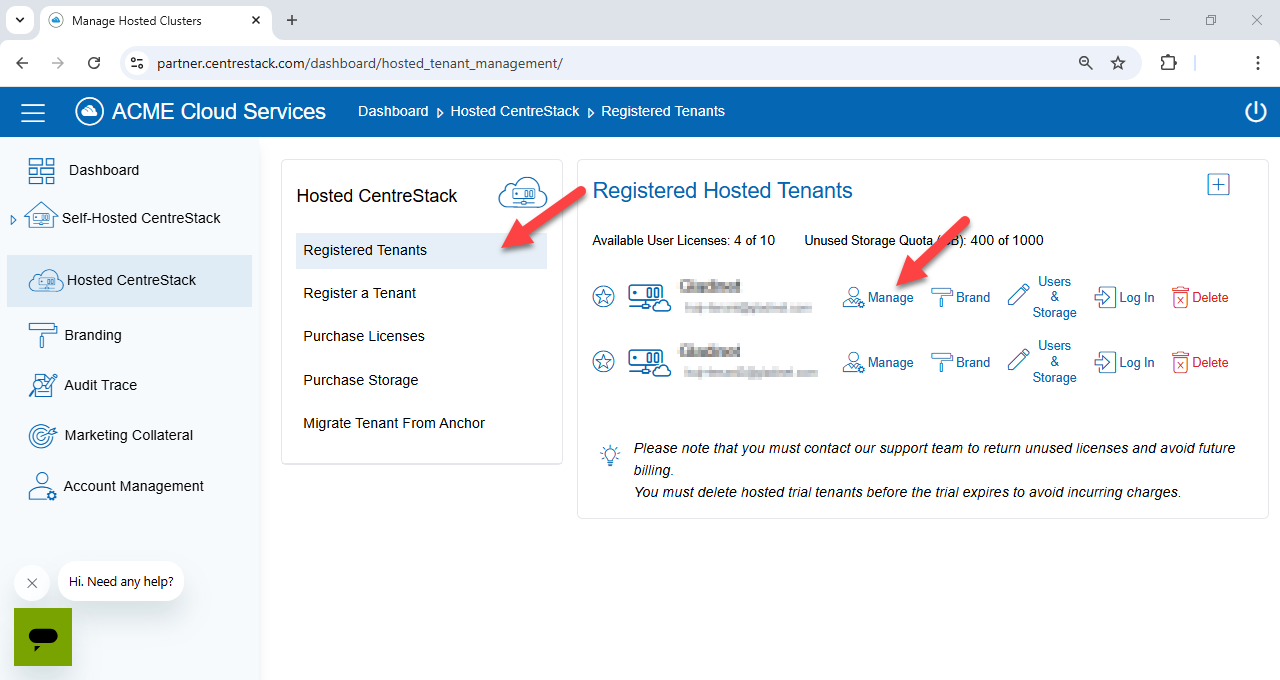
MANAGING YOUR TENANT
Branding
You can create the branding and then apply the branding information to your Tenants.
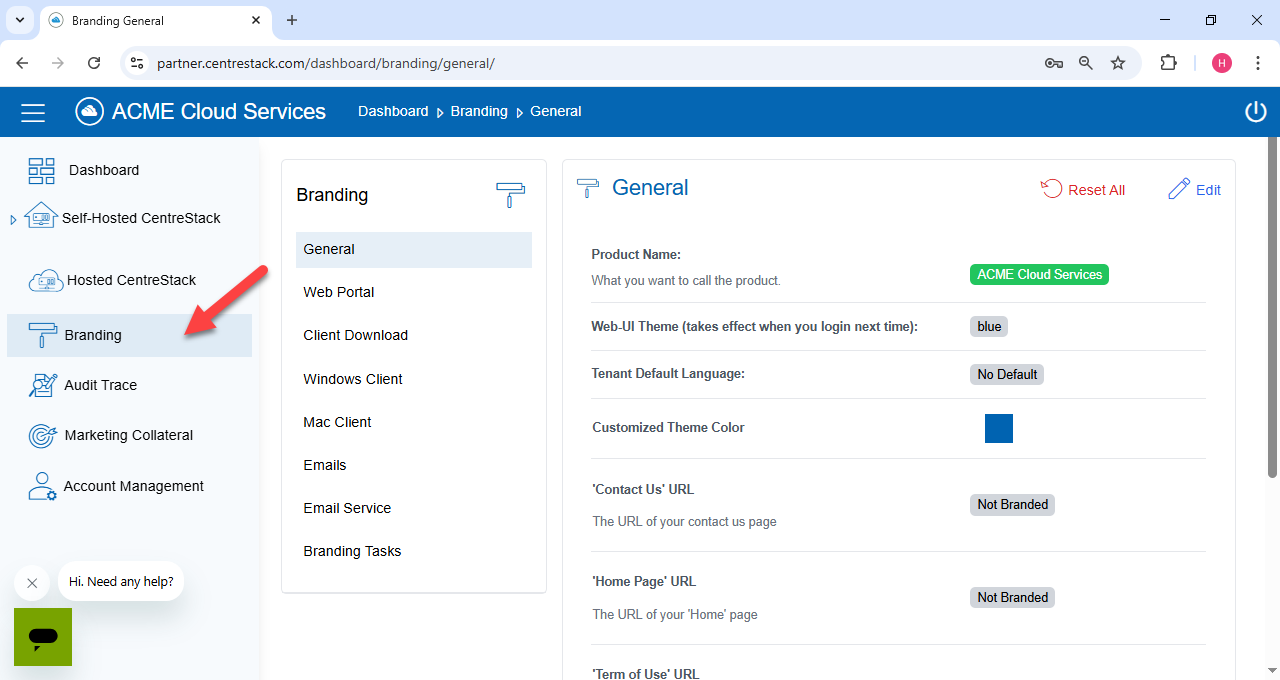
PARTNER BRANDING SETTINGS
Apply Branding to the Tenant
Default branding is applied this way: On “Registered Tenants” section, click “Brand”.
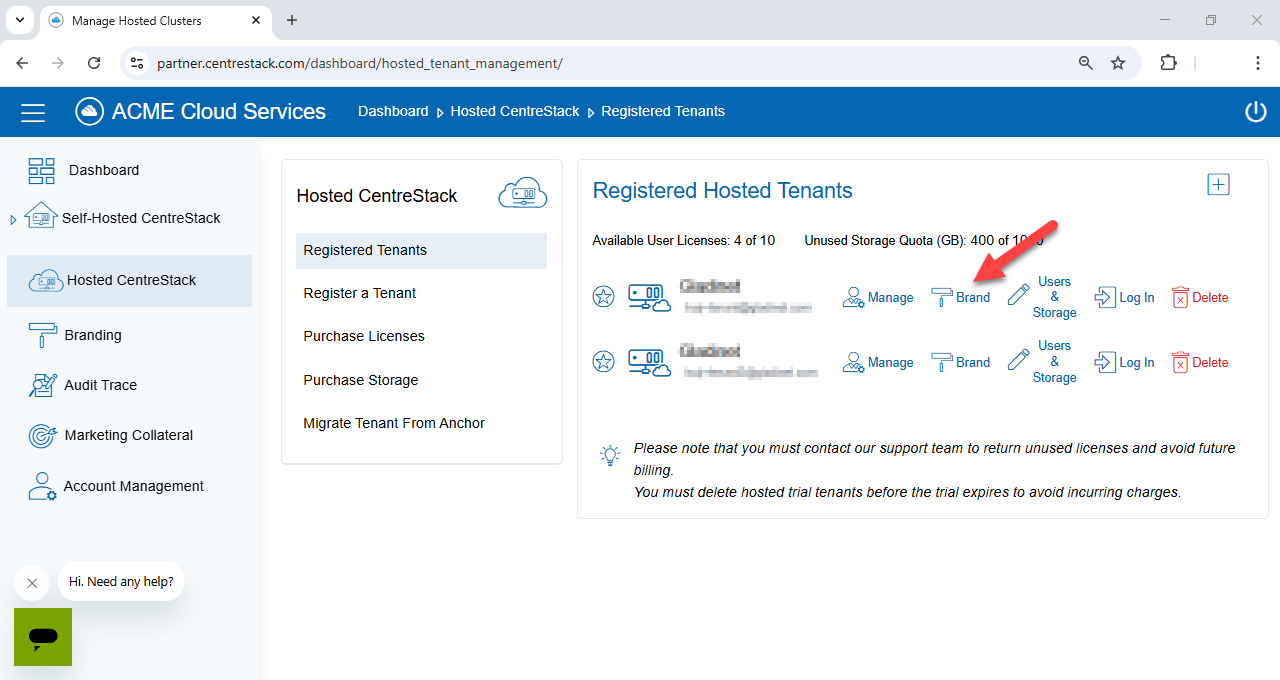
APPLY PARTNER BRANDING
If the Tenant is allowed to change the branding, this can be done from the Tenant dashboard.
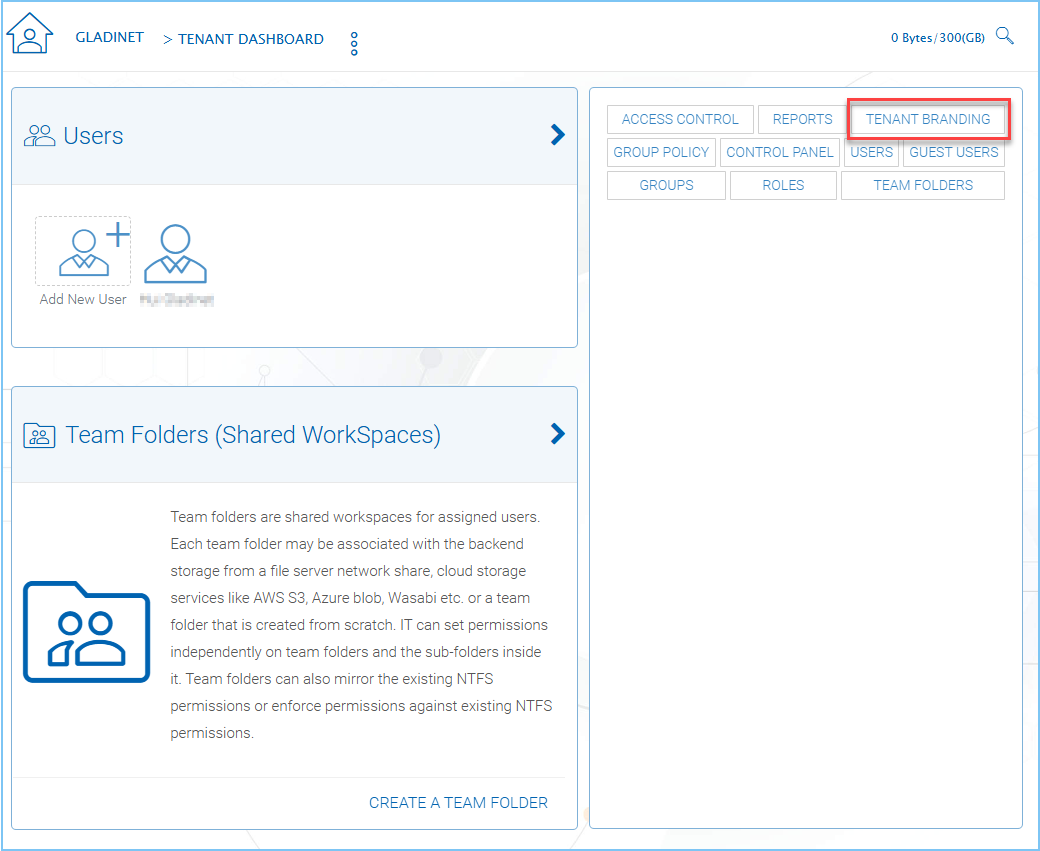
ACCESS TO TENANT BRANDING
Once you are in the Branding Settings, you can choose a settings group from the Branding submenu. The setting categories are: General, Web Portal, Client Download, Windows Client, Mac Client, Emails, Email Service, and Branding Tasks.
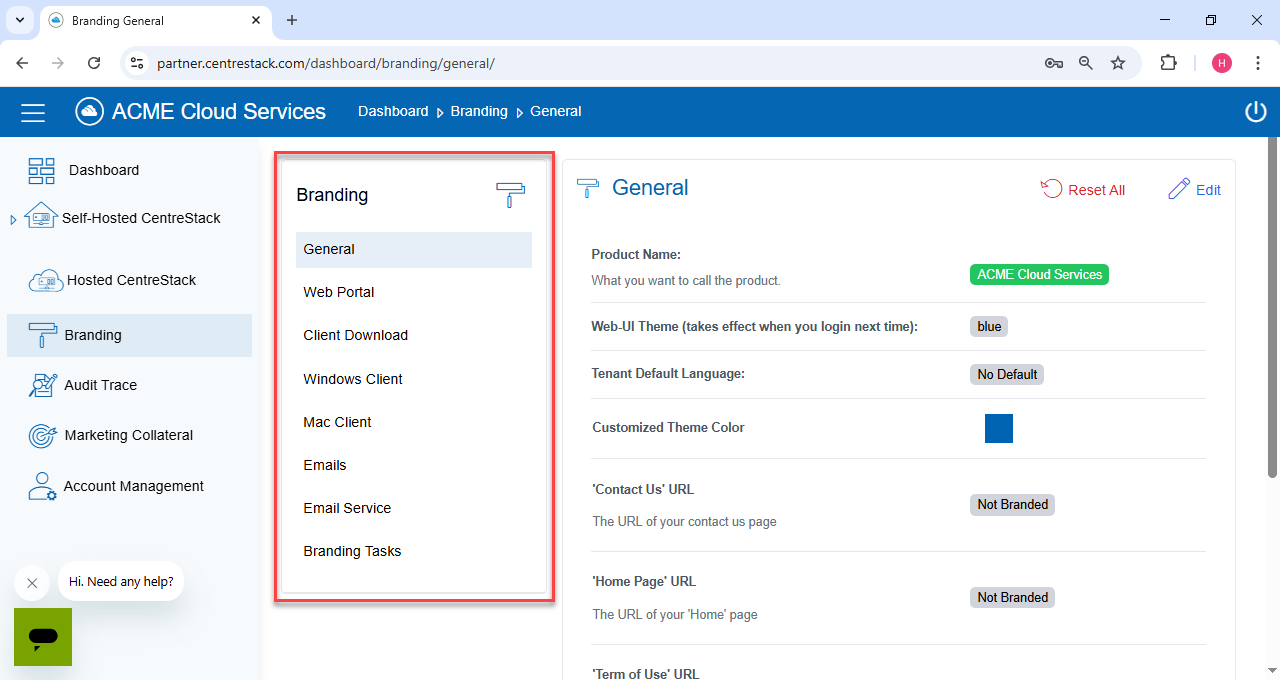
TENANT BRANDING SETTINGS
After the branding is created, you can apply the branding to a specific Tenant. In this example, we created a new logo and uploaded it to the logo section in the partner portal.
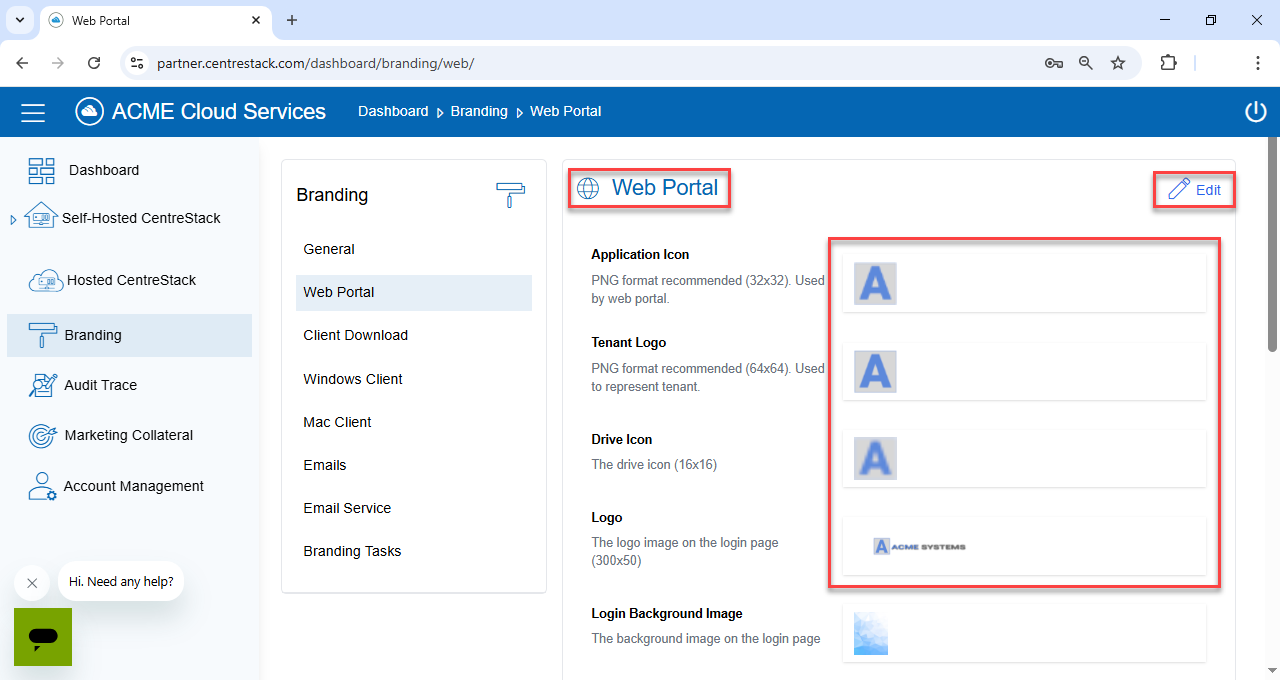
REPLACE THIS
After that, we can apply the branding and you can see the difference before-branding and after-branding.
Before - Default
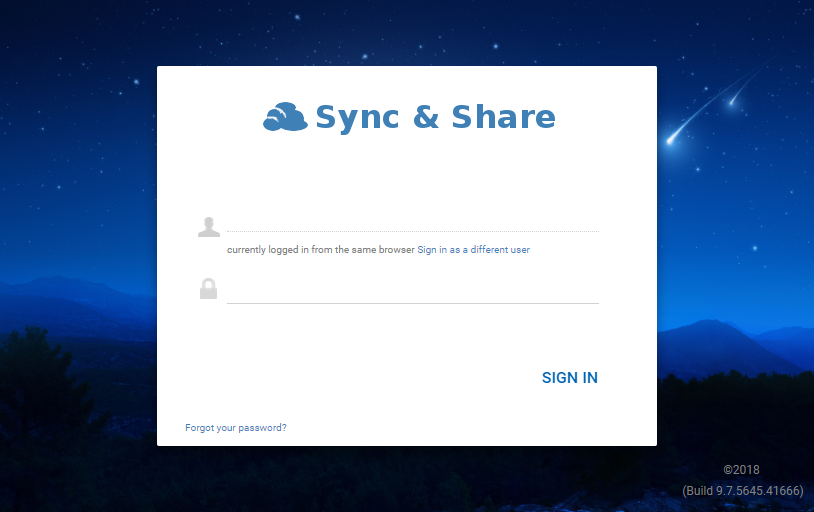
DEFAULT BRANDING
Now - Your Branding
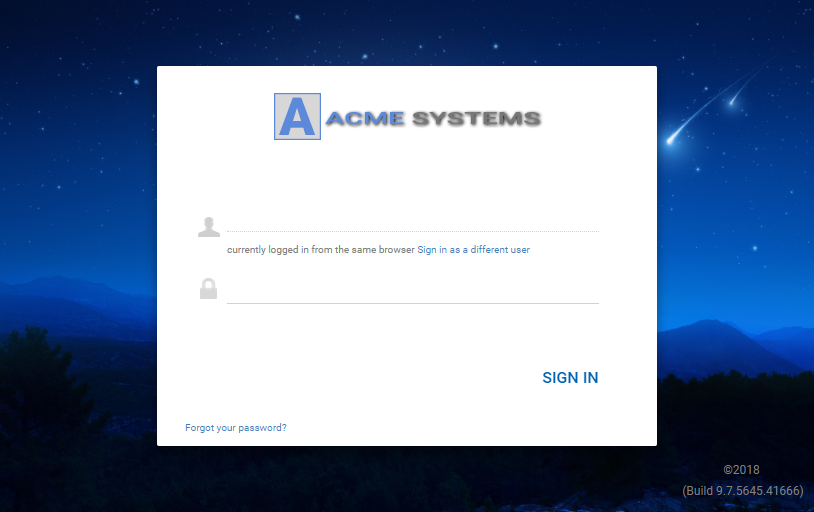
CUSTOM BRANDING