Manage Tenant
By default, the CentreStack partner account holder has the “Single-pane-of-glass” view of all his tenants in the partner portal and can manage the Tenants in “Registered Tenants” section..
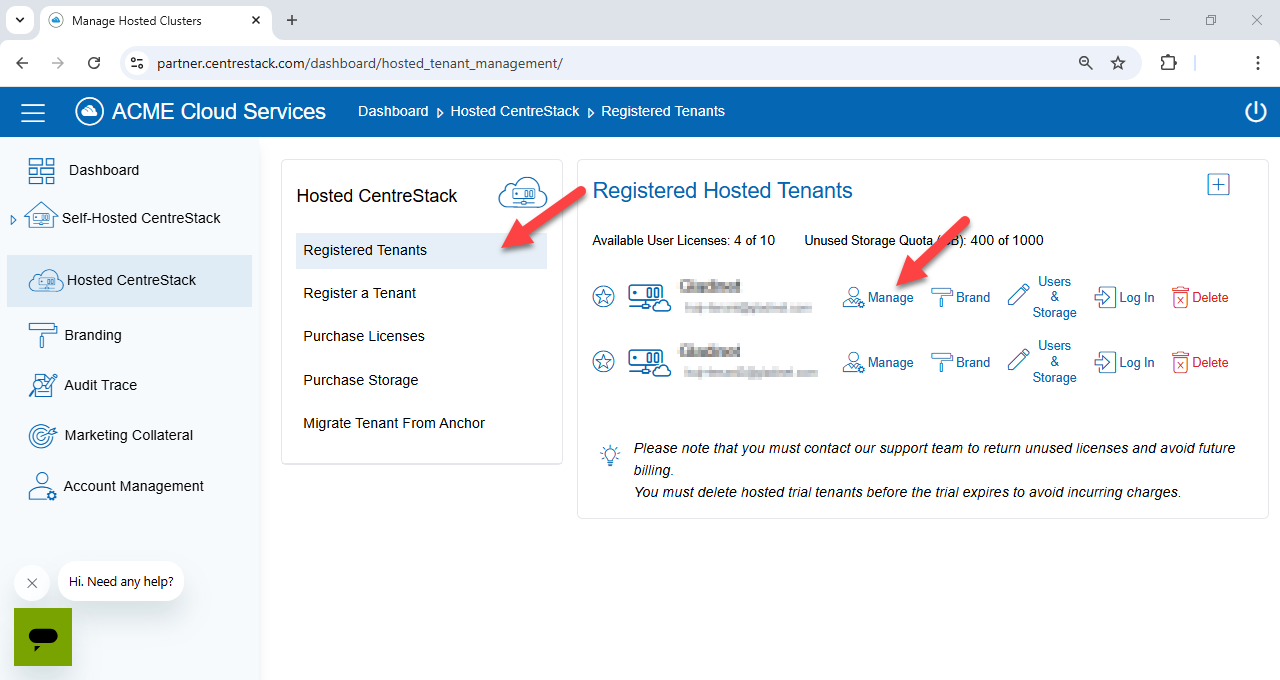
MANAGE TENANT OPTION
After you click through to the “Manage” option, the tenant dashboard will show.
Tenant Dashboard
The dashboard contains the two most important assets: the users and the Team Folders.
Note
Basically from a management perspective, you are helping the tenant manage their users and their common work areas - the Team Folders.
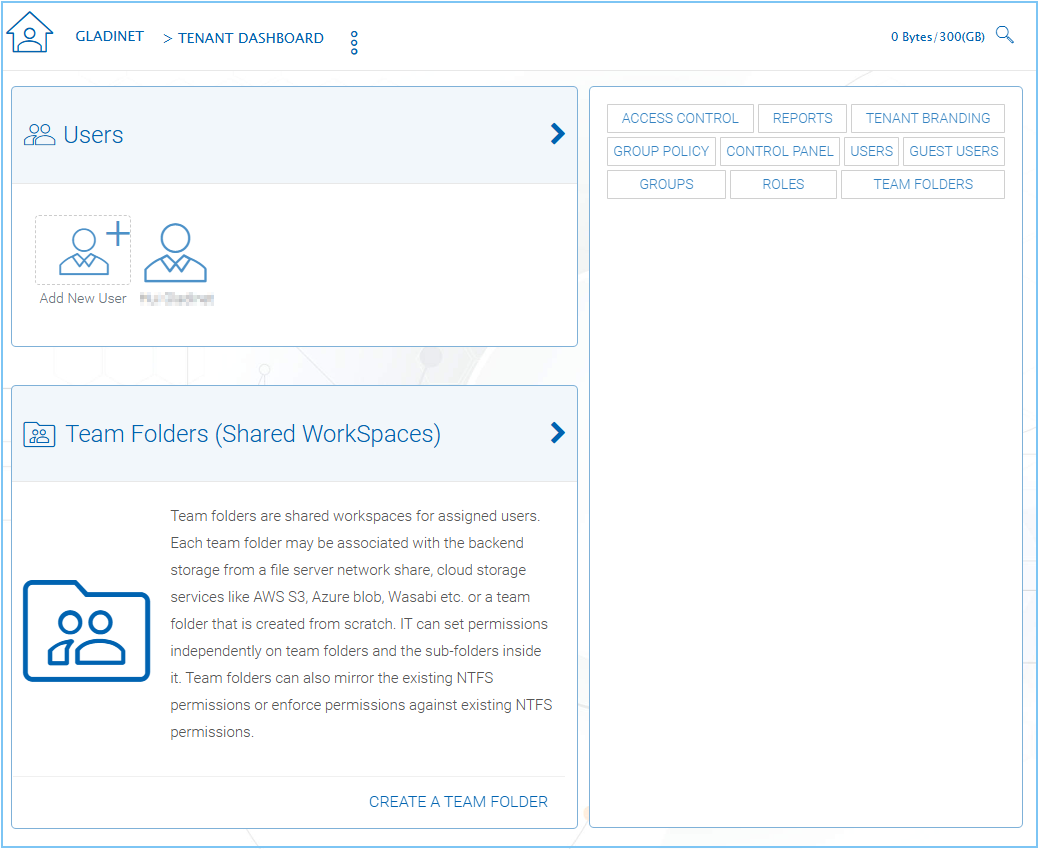
TENANT DASHBOARD
There is also a Quick Access panel on the dashboard that you can see the second level of details on the tenant management scope.
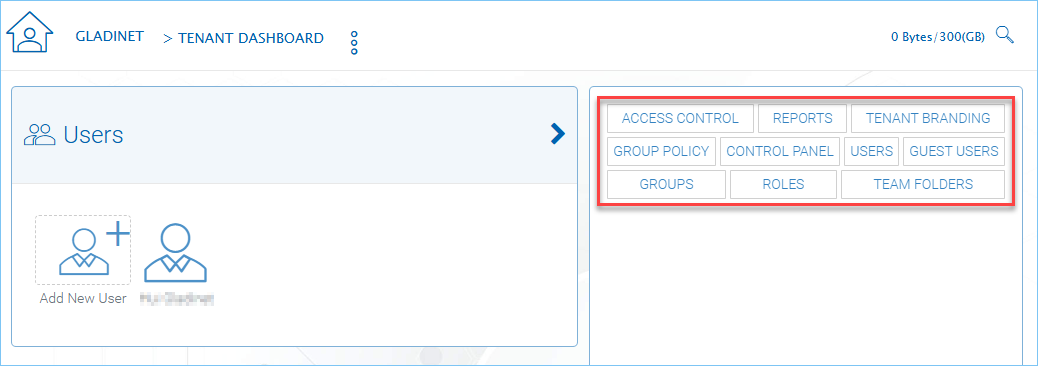
QUICK ACCESS PANEL
Reports
In REPORTS, you can see reports related to the tenant.
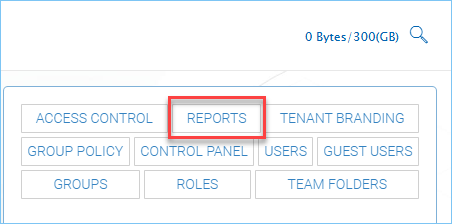
REPORTS
Once you click the “Reports” button you will see the “Upload Report” by default. You can use the tab at the top to choose other report options.
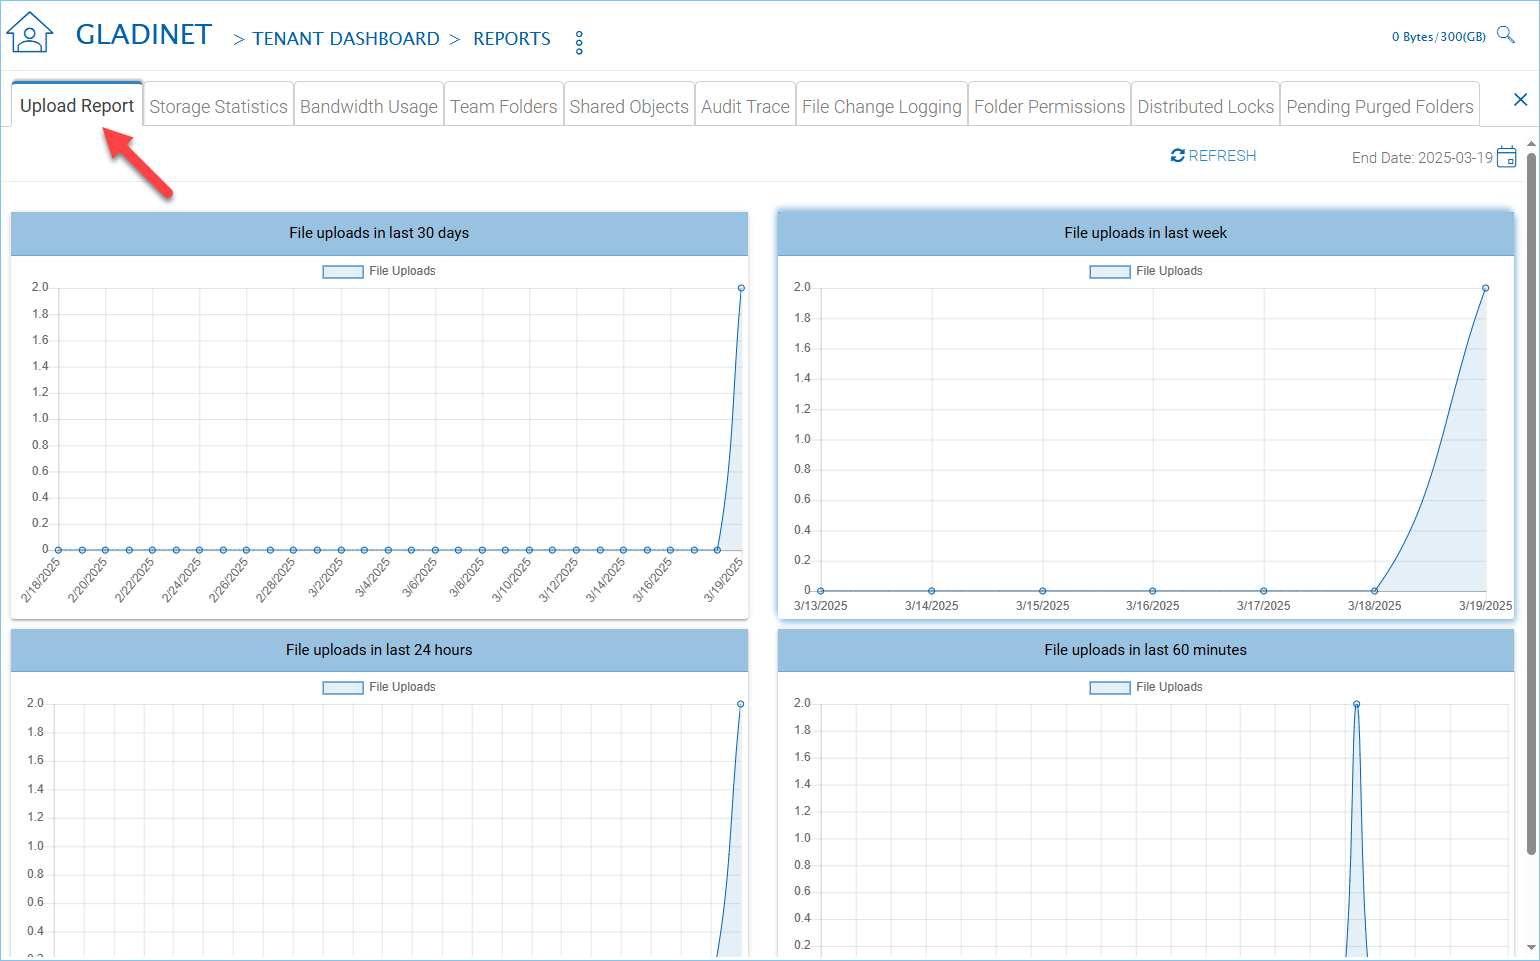
REPORTS MENU
Upload Report
the number of files uploaded into hosted CentreStack in the last 30 days or last week.
Storage Statistics
The files and folder number and size and other statistics of files and folders.
Team Folders
All the Team Folders in the tenant.
Shared Objects
All the peer-to-peer share objects in the tenant.
Audit Trace
The management scope events in the tenant.
File Change Logging
The file change events in the tenant.
Tenant Branding
After you setup default branding and apply to the tenants, you can continue to fine tune the branding on a per-tenant basis.
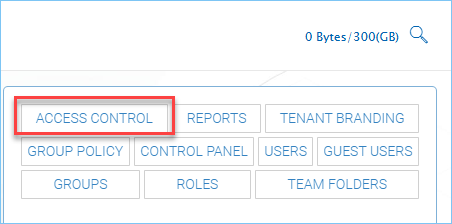
TENANT BRANDING
In the TENANT BRANDING section, you can setup and change tenant specific branding information.
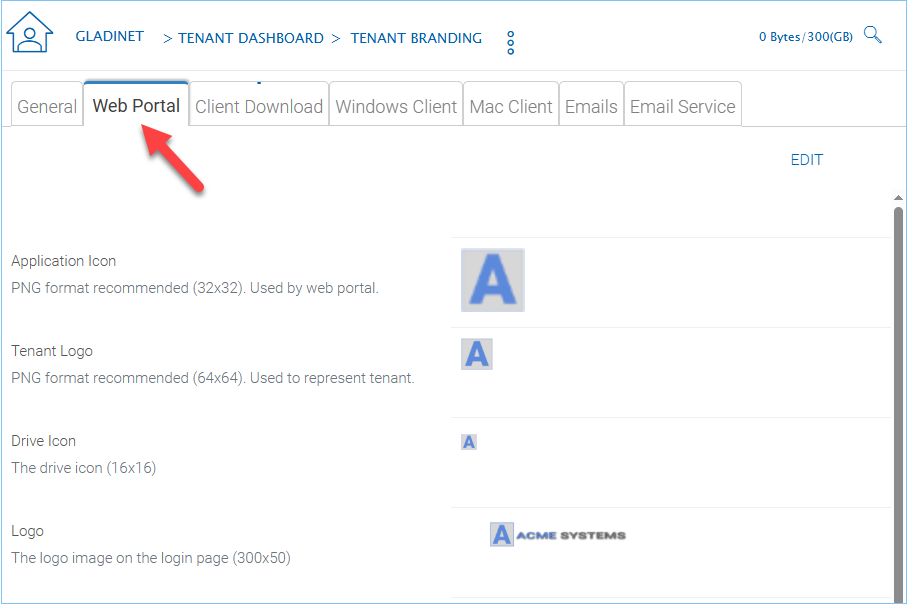
BRANDING OPTIONS
Customized URL for your business
Upon creating the tenant, the tenant is assigned a random string of digits for the custom site. You can change the URL so that it is more related to the customer’s business name.
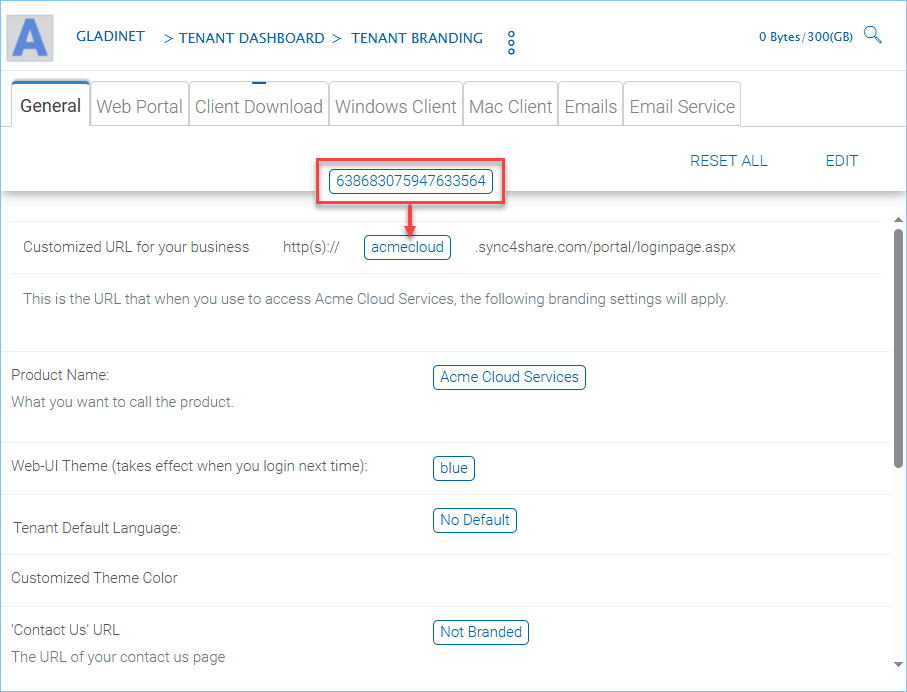
GENERAL OPTIONS
Note
The Customized URL field is very important for the tenant branding. It is like a key to a list of information belonging to the tenant. For tenant branding to work, the tenant will need to login to the specific URL that is assigned to them.
Group Policy
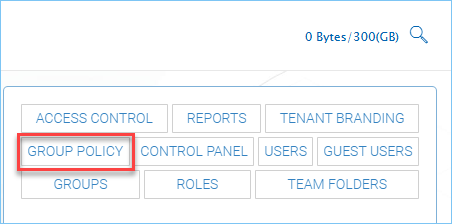
GROUP POLICY
GROUP POLICY is documented in the CentreStack Admin Guide. Look for the group policy section in the CentreStack Admin Guide. Please see the Documentation Page for more information.
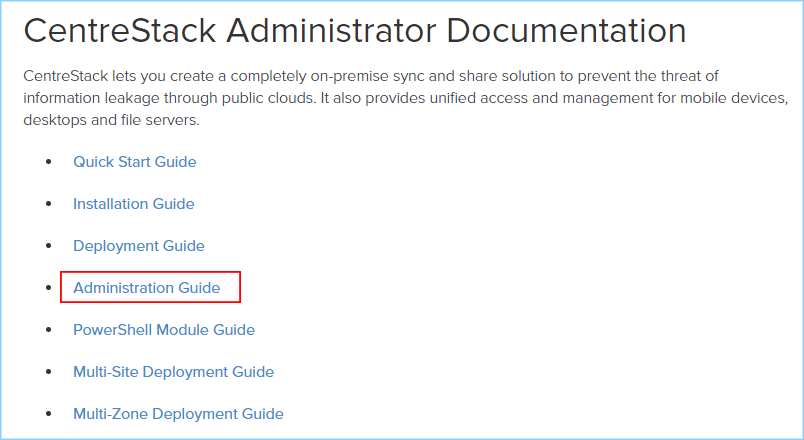
DOCUMENTATION WEB PAGE
Control Panel
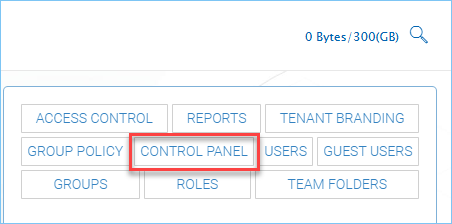
CONTROL PANEL
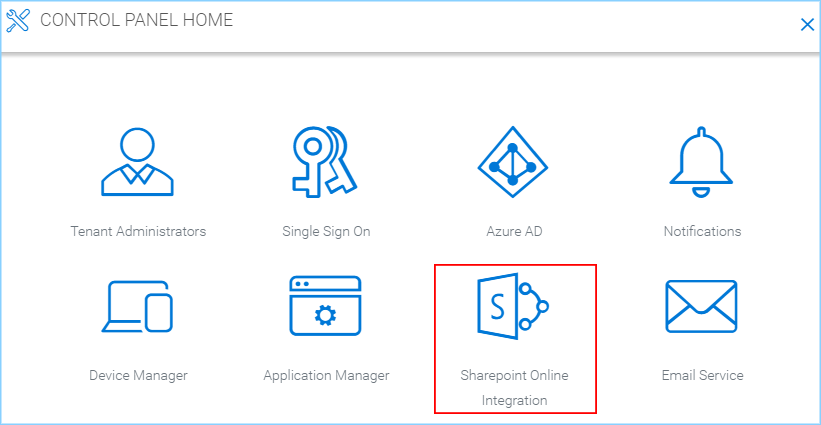
In the CONTROL PANEL section, you will see the following sections.
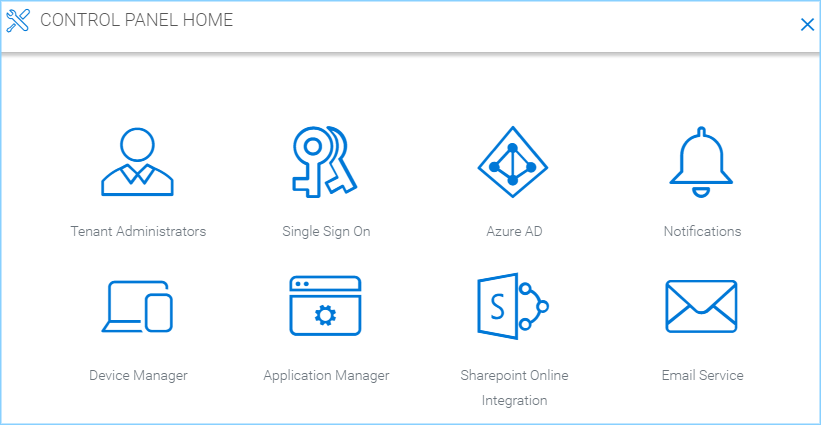
CONTROL PANEL SETTINGS
Tenant Administrators
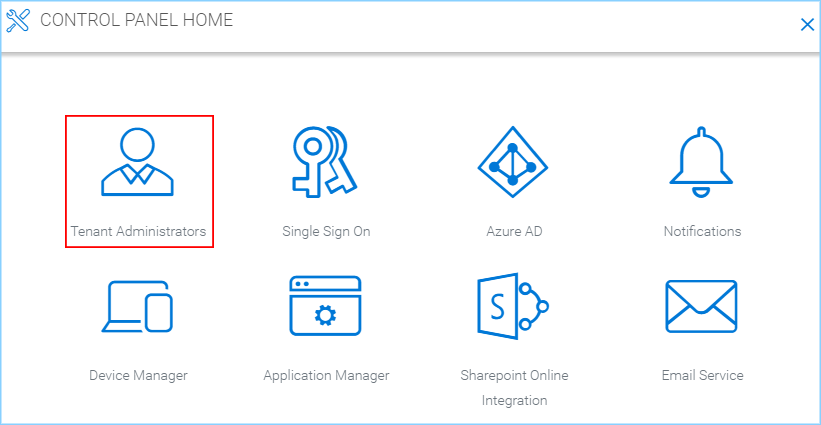
TENANT ADMINISTRATORS
You can change the tenant’s administrator information here and also define delegate administrators.
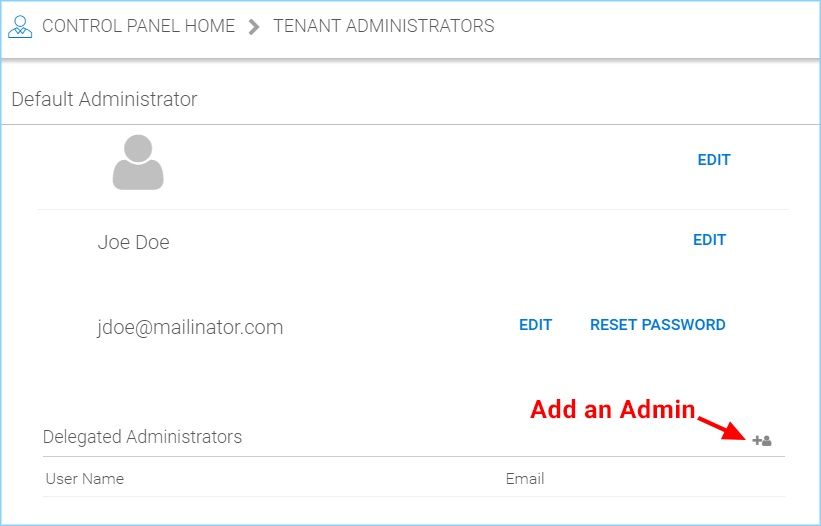
TENANT ADMINISTRATOR SETTINGS
Single Sign-On
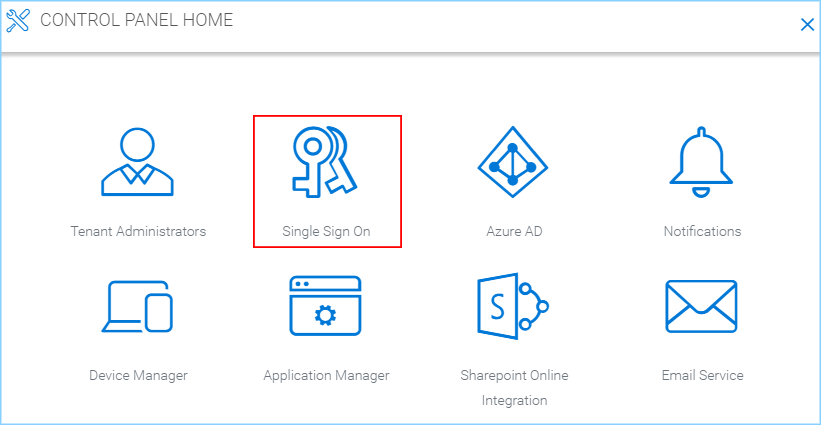
SINGLE SIGN ON
It is recommended to setup tenant specific custom URL before setting up the Single Sign-On since this is a tenant-specific Single Sign-On setting.
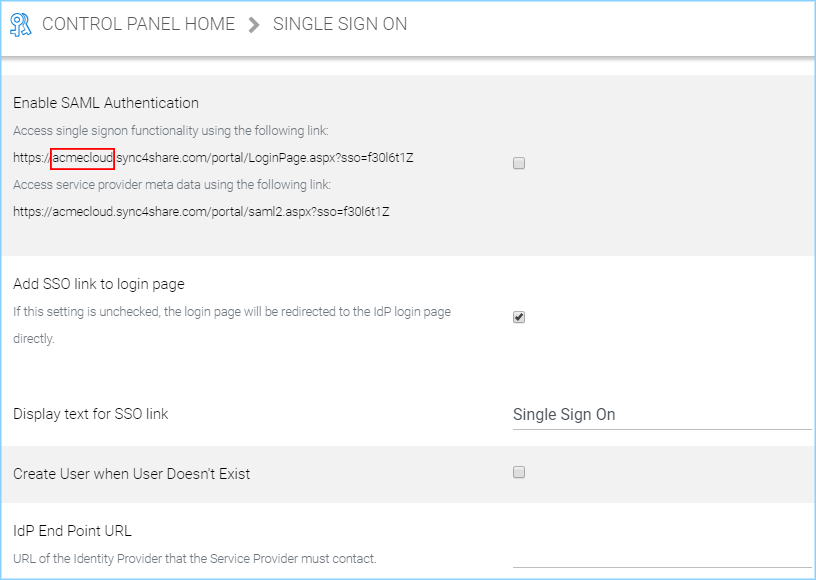
SINGLE SIGN-ON SETTINGS
Check the CentreStack Admin Guide for more details.
Azure AD
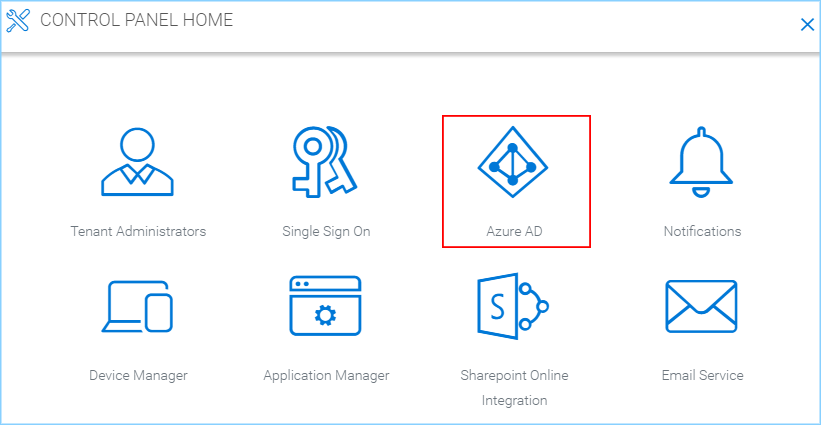
AZURE AD
In Azure AD, you can setup the tenant to login using credentials from Azure AD.
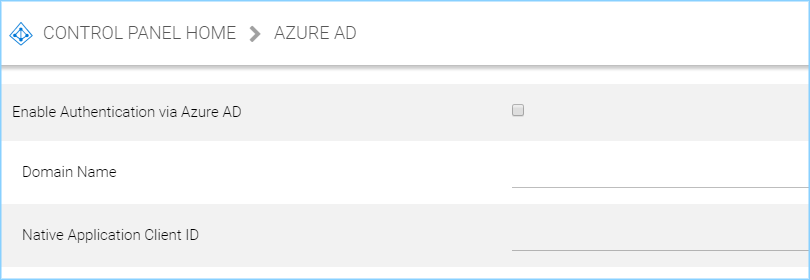
AZURE AD SETTINGS
Check the CentreStack Admin Guide for more details.
Notifications
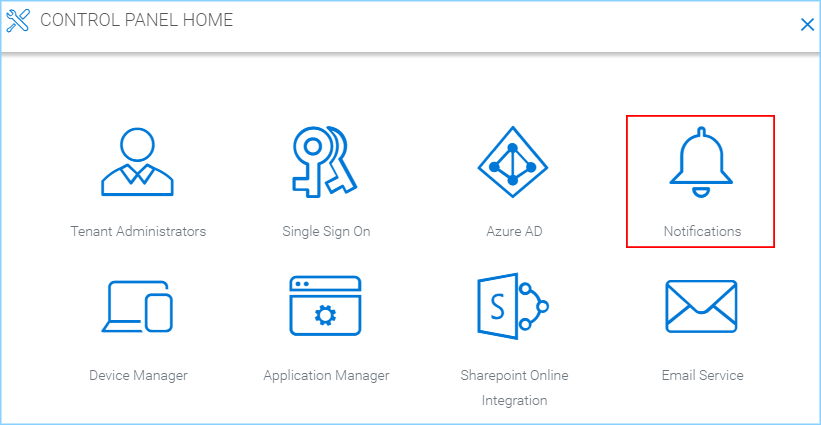
NOTIFICATIONS
The Notification section defines what kind of notifications the tenant wants to configure.
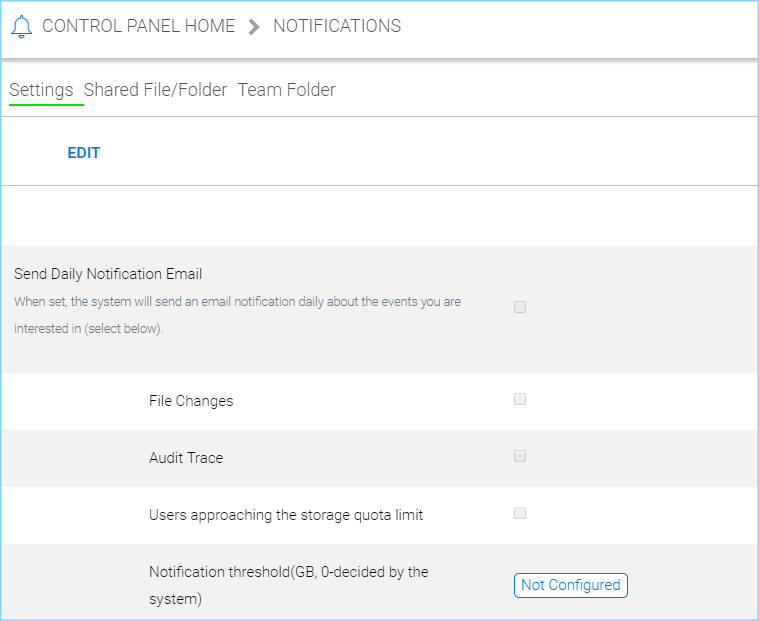
NOTIFICATIONS SETTINGS
Device Manager
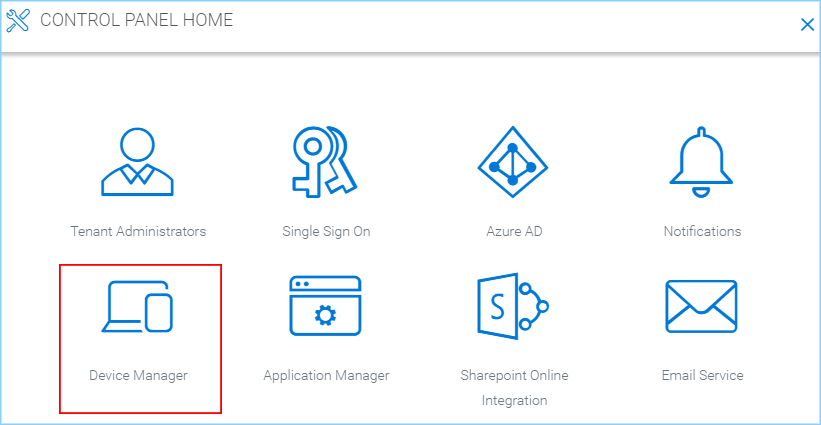
DEVICE MANAGER
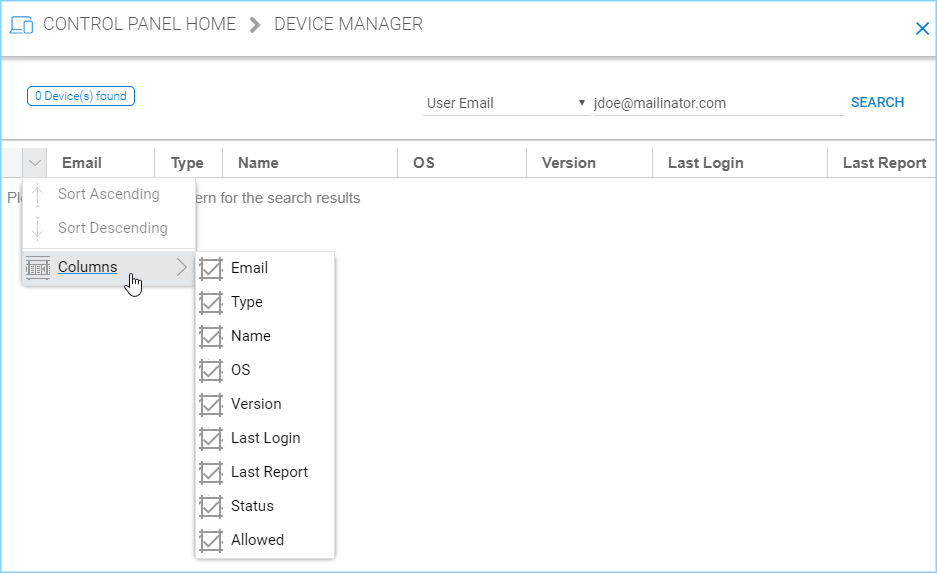
DEVICE MANAGER SETTINGS
Application Manager
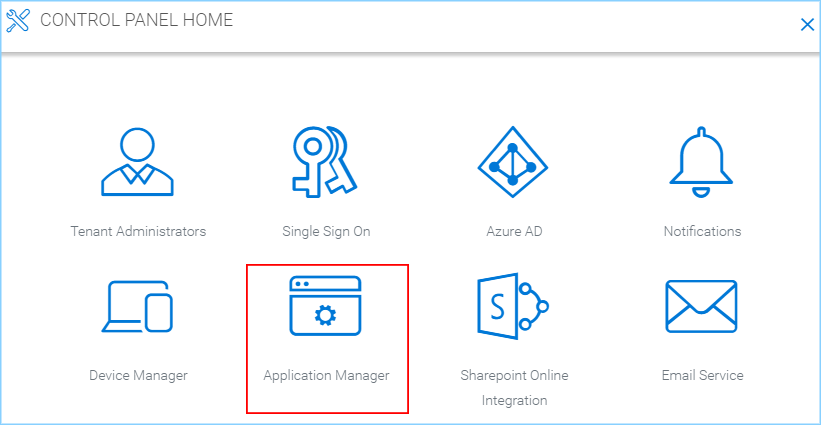
APPLICATION MANAGER
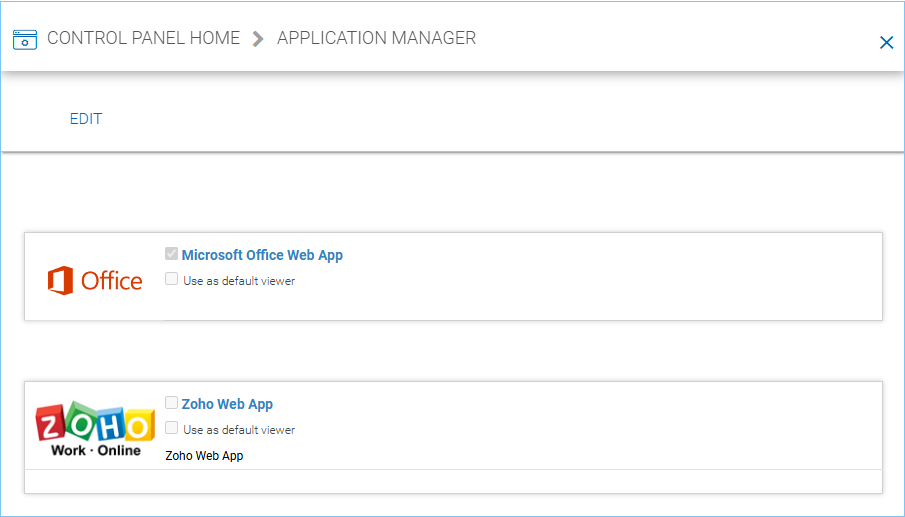
APPLICATION MANAGER SETTINGS
Email Service
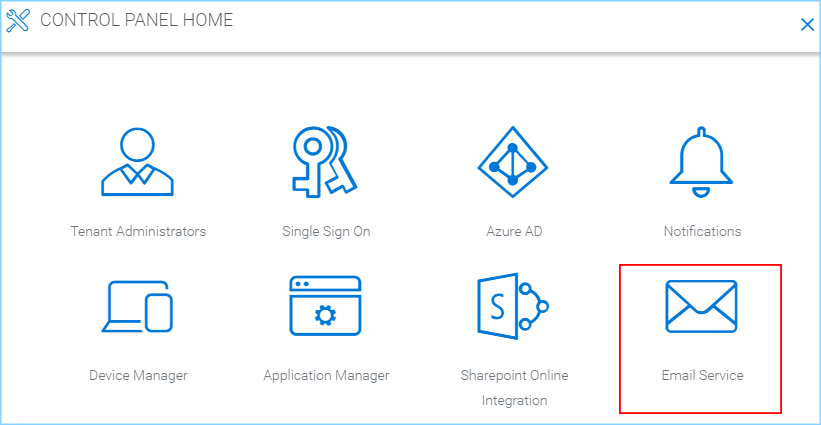
EMAIL SERVICE
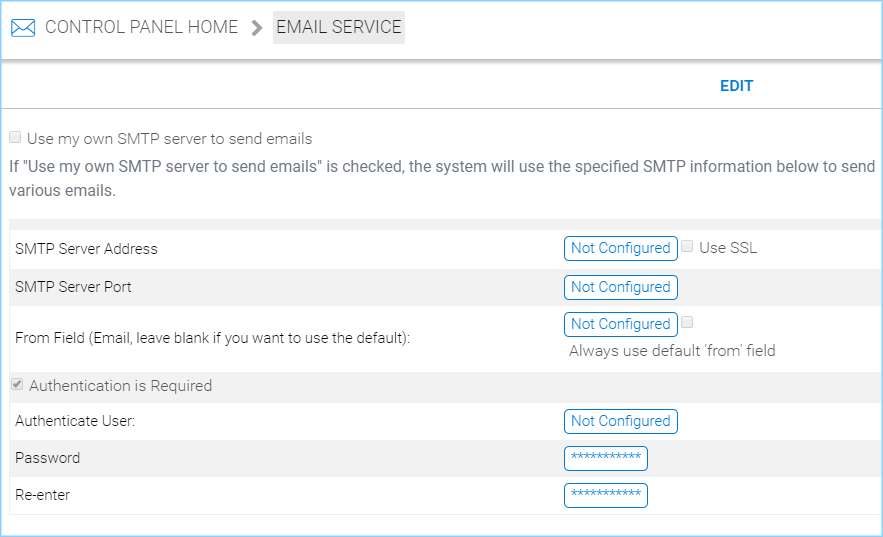
EMAIL SERVICE SETTINGS
User Manager
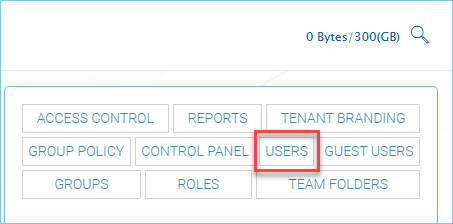
USER MANAGER
User manager is where to manage the users for the tenant.
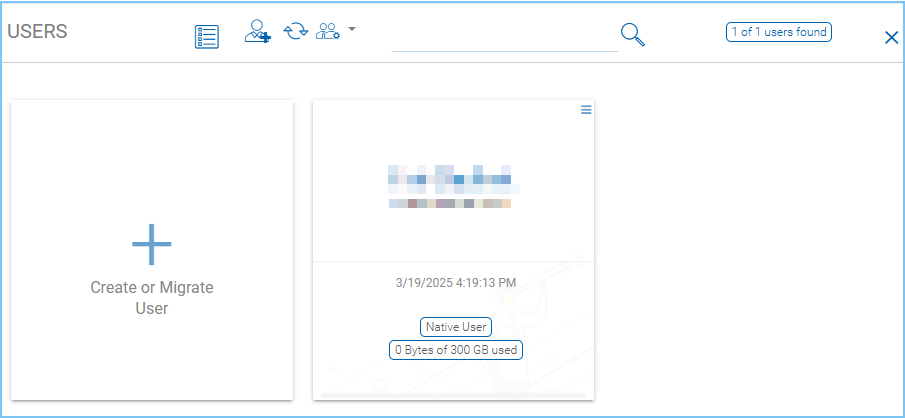
USER MANAGER SETTINGS
Add User
Users can be created directly with user name and email. If the Server Agent is used, users can also be created from the Server Agent where Active Directory users from a remote Server Agent can be imported into CentreStack.

ADDING USERS
Before the Server Agent is used, there are two options: “Native User” and “Batch create users”. If you use Server Agent to connect a remote file server to this specific tenant, the remote Active Directory will also show up.
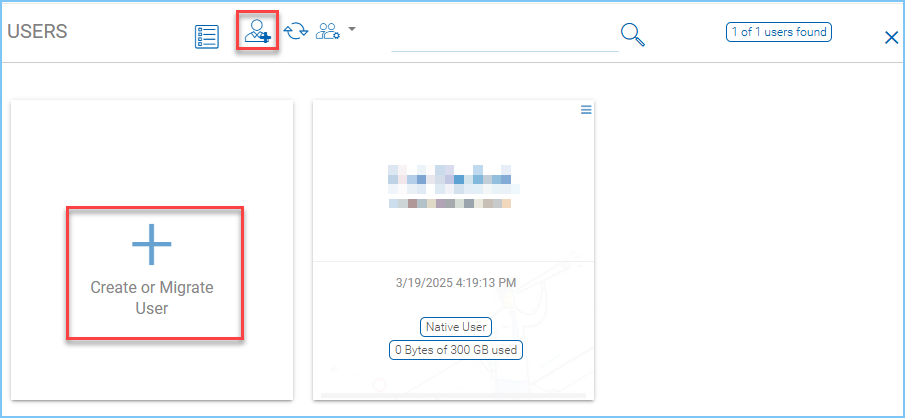
CLICK TO CREATE OR MIGRATE A USER
Guest users are those users that don’t have home directory storage, but can receive file and folder shares from regular users.
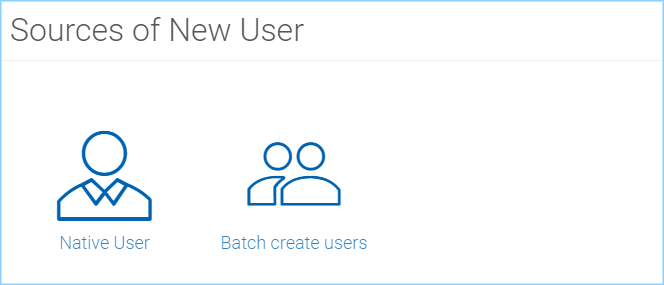
SOURCES OF USERS
Group Manager
You can create native CentreStack groups to help manage the assignment of users to folders and files for read and write permission.
If you have the Server Agent connected, the Server Agent can import Proxy Active Directory group instead.
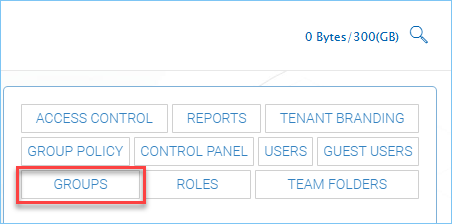
GROUPS
Role Manager
Role manager can further define what each users in the tenant can do and what they have access to.
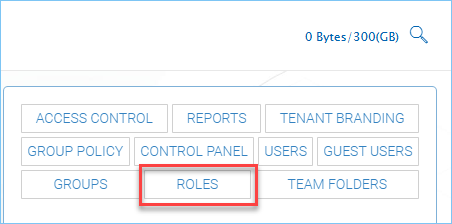
ROLES
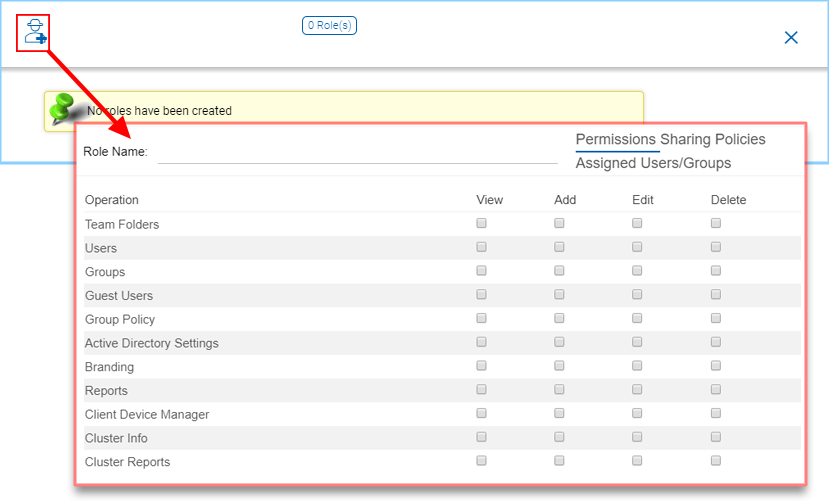
CREATING A NEW ROLE
Team Folder
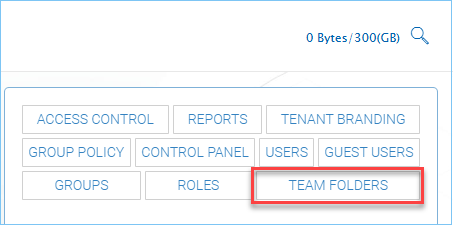
TEAM FOLDERS
The idea of a Team Folder is similar to that of a local network share. Users can be assigned to a Team Folder with read and write permissions at the share level. Inside the folder, at the sub-folder level, each sub-folder can define its own folder level permissions.
Add a Team Folder
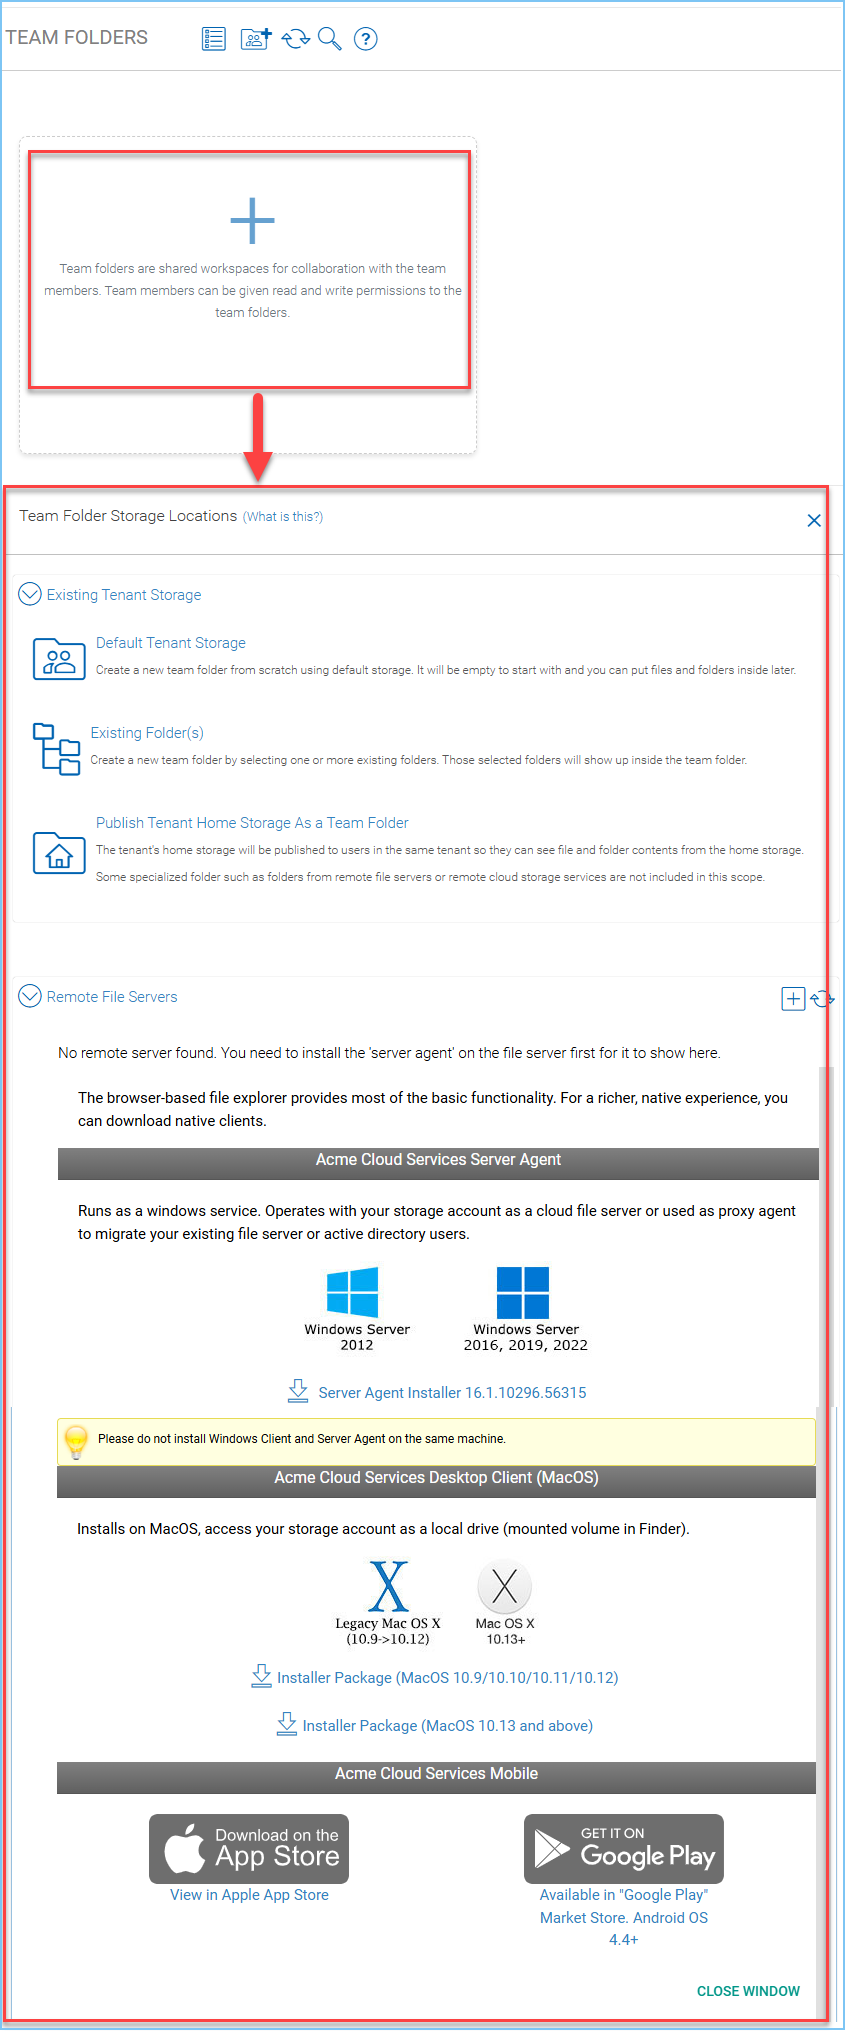
CREATING A TEAM FOLDER
In the hosted CentreStack environment, you can create Team Folders in several different ways.
- Default Storage
Create a new Team Folder from scratch using the default storage. It will be empty to start with and you can put files and folders inside later.
- Existing Folder(s)
Create a new folder by selecting one or more existing folders. Those selected folders will show up inside the Team Folder.
- Publish Tenant Home Storage As a Team Folder
The tenant’s home storage will be published to users in the same tenant so they can see file and folder contents from the home storage. Some specialized folders such as folders from remote file servers or remote cloud storage services are not included in this scope.
- Remote File Server (with Server Agent)
Once you install the Server Agent on your remote server, you can create a Team Folder here.
Initially without remote Server Agent installed, the Remote server section is empty. If there is at least one Server Agent installed, the remote file server will show up under the “Remote File Servers” section and you will be able to import file servers from a remote location, together with Active Directory Identities and the corresponding folder level NTFS permissions.
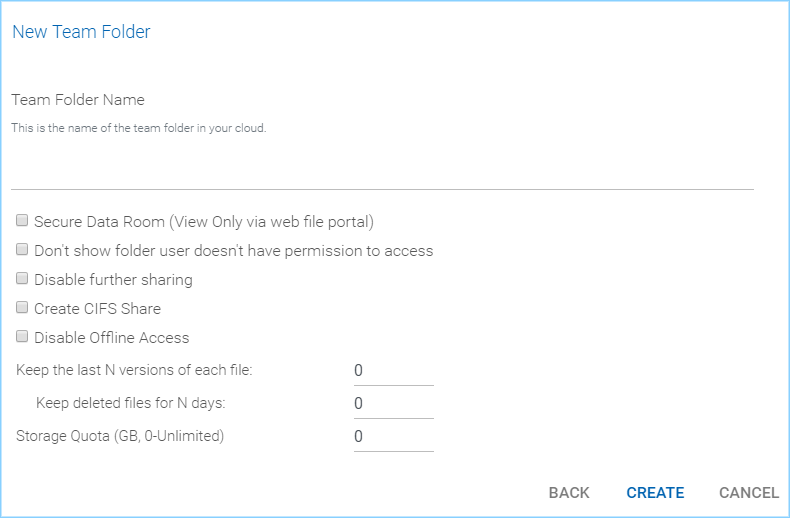
TEAM FOLDER SETTINGS
Storage Manager
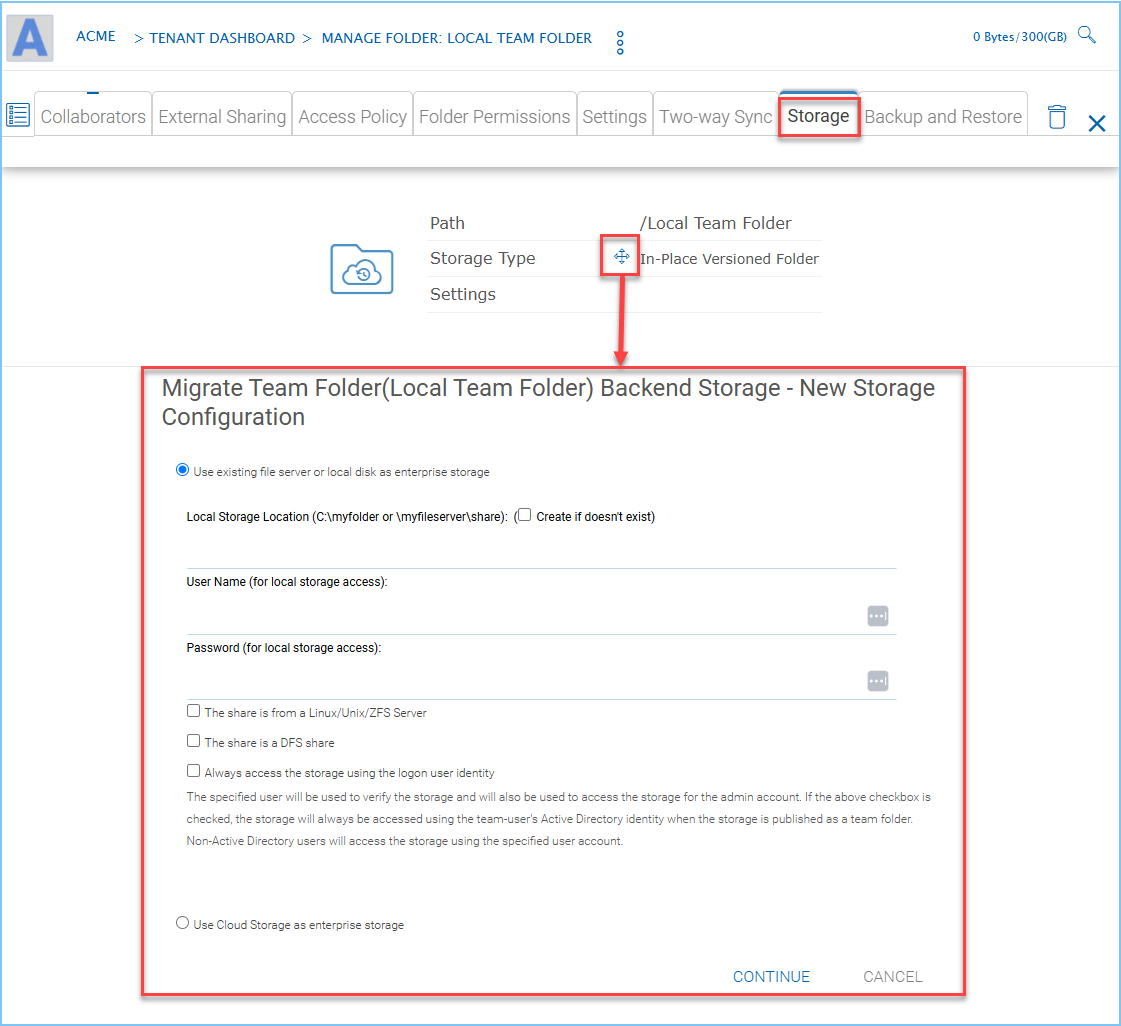
SETTING UP BACKEND STORAGE
Storage Manager is where you can define more secondary storage services and mount them into CentreStack so you can access them all from one single location.
