“On-Premise Self-Hosted” Quick Start
Introduction
To deploy an on-premise self-hosted centrestack, the CentreStack server is directly installed in the company network. On one-hand, it is facing the Internet with port 443 (HTTPS) like any web server does; and on the other-hand, it is connecting to company internal network and IT infrastructures such as File Servers and Active Directory. The CentreStack server normally sits in the DMZ or behind a firewall to protect against un-authorized outside access.
The business objective is giving mobile and remote access to file servers without the need of a VPN. It is more productive than traditional VPN by greatly reducing the number of VPN support tickets for internal enterprise IT department or for the managed service provider.

See also :
Preparation
The CentreStack server is a web server, passing file and folder access between remote client agents to backend file servers. Here is a list of items to prepare ahead of time.
- a dedicated Windows Server machine:
Operating System (2025 / 2022 / 2019)
8G memory
Dual core or more cores (vCPU or CPU)
100G hard drive space.
a SSL certificate (for production)
a DNS name (for production)
Since you can turn a test (POC) environment directly into a production environment, you can start with requirement #1 for test and POC (proof of concept) environment and later acquire SSL certificate and DNS name.
Note
Sometimes, CentreStack can be installed directly on the File Server itself if the goal is to reduce the number of servers. Even though we recommend using a dedicated clean Windows Server, as long as the existing file server doesn’t have IIS/Default-Web-Site conflict, nor SQL Express conflict, the CentreStack server can be installed on the file server.
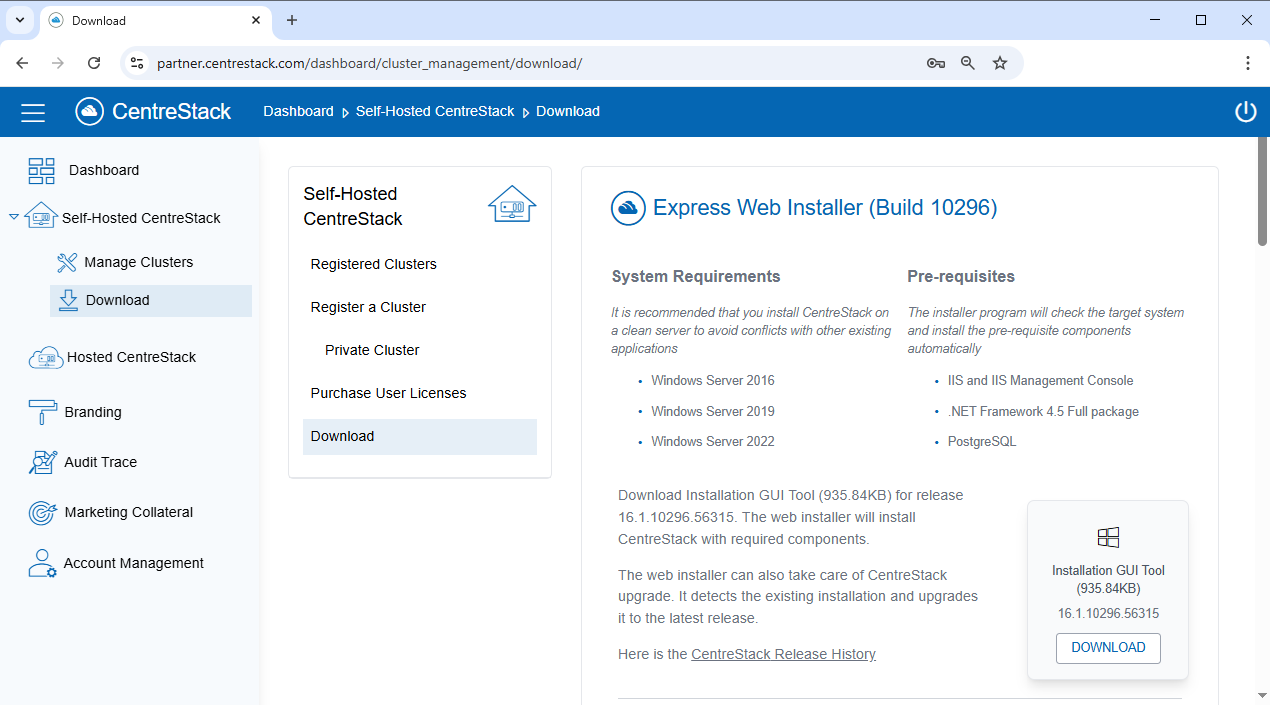
Download & Installation
After you decide and have acquired the Windows Server to install the CentreStack software, you can go to the partner portal and download the software.
The Installer will install everything from beginning to end.
Please reference the following two guides for more information: